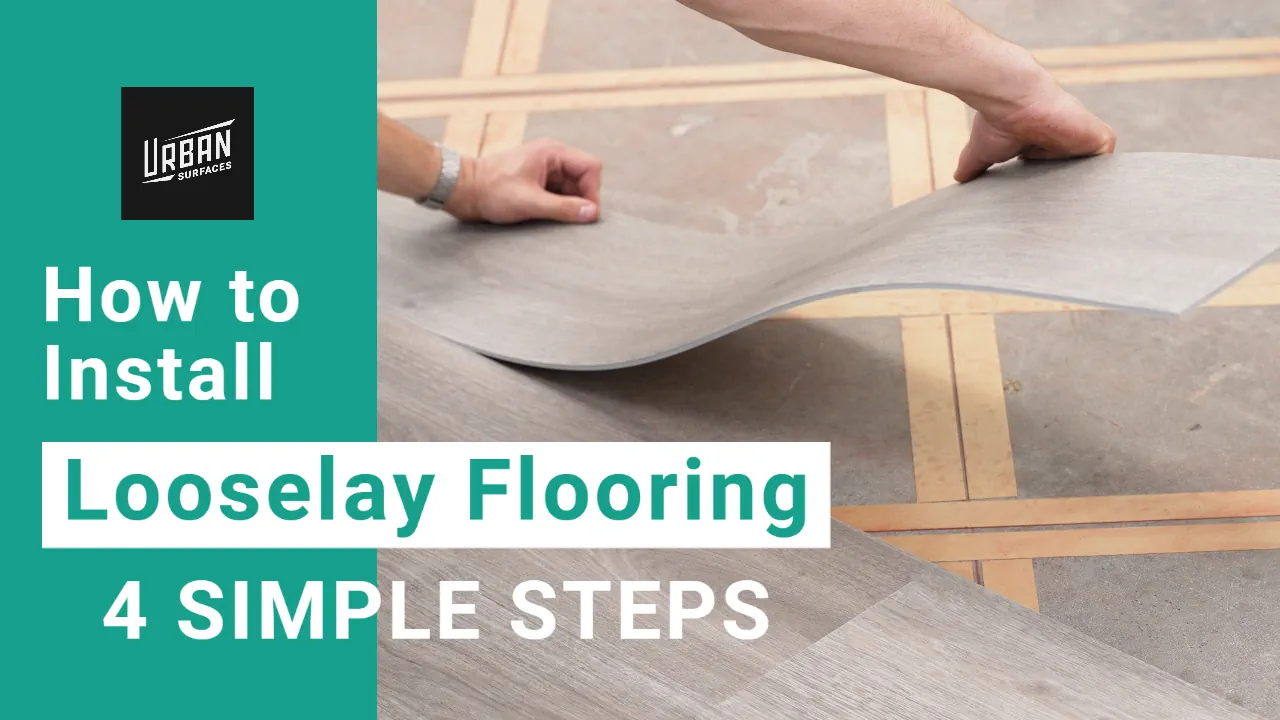
With its commercial grade wear layer and Grip-tec backing, Urban Surfaces’ LooseLay flooring is designed for a quick, durable, and minimal adhesive installation.
Before you begin installing, read the complete LooseLay Installation guide, located on our resources tab.
Follow these 4 steps to maximize your installation success and flooring longevity.
Step 1: Gather Materials
Gather the necessary materials and tools in order to properly prep your subfloor and install your flooring.
- Utility knife (and/or guillotine)
- Measuring Tape
- Pencil
- Double-sided adhesive tape
- Chalk line reel
- Square
- Level
- 75-100 lb Roller
Step 2: Subfloor Preparation
Preparing your subfloor is a crucial step to ensure your installation goes smoothly. Making sure they’re clean, flat, and as moisture-free as possible. When cleaning you’ll want to make sure all debris and protrusions are swept away ensuring your surface is as spotless as possible.
Using a level, measure the deflection or curvature to ensure the subfloor is level within 3/16” in a 10 ft span. Subfloor should not slope either upward or downward more than half an inch per 6 ft span. If it slopes down or has holes, fill it in with a portland based self leveler. If it slopes upward, use a concrete grinder to level it out.
The versatility of LooseLay gives you the option of installing with only minimal adhesive in residential settings with full spread capability for commercial environments. If you intend to do a full spread adhesive, we recommend coating your subfloor with Taylor Universal Primer to prevent over absorption of adhesive.
ASTM standard F710 requires moisture and pH tests to ensure your concrete substrate is suitable for installation. Moisture test results must not exceed 85% RH or 8 lbs per 1000 sq ft over 24 hours. pH must result between 5 and 9 to avoid alkali damage.
Step 3: Installation Preparation
To determine how much flooring is necessary for your project, find the area of the room by multiplying both the length and width of the space. Then divide the area by the square feet provided on the box. This will give you an idea of approximately how many boxes you will need for the installation. Urban Surfaces recommends ordering between 5-10 % more material to account for cutting waste. Acclimate the boxes in the installation environment for 48 hours. Recommended at a temperature between 65-85 degrees fahrenheit.
For a successful and seamless installation, setting up guidelines for both the adhesive and the flooring will be important. First select an adhesive pattern appropriate to both the size of the project and level of foot traffic to be expected. The adhesive pattern we’ll be using for this demonstration is the diamond shaped method.
Next, you’ll need to determine the placement of the guideline for the starting row, taking into consideration the width of the edge rows. The edge rows are the first and last rows closest to the starting wall. They account for wall deviation and must not be shorter than 3” on both sides. Once guidelines are determined, set the starting row using a chalk line reel. For the adhesive pattern, diagonally snap your chalk every 2 feet starting from the longest wall in a 45 degree angle. Continue until the area is completely marked.
Step 4: LooseLay Flooring Installation
Begin by laying strips of double-sided adhesive tape around the perimeter of the room. Following the adhesive pattern, place bands of adhesive tape 4 inch wide along the grid until complete.
Next, begin your starting row by laying your first plank against the wall along the guideline. Following the guideline is essential to ensure the installation remains square to the room. To finish the starting row, the last plank will need to be cut to size. Repeat this process until you meet your edge row.
For the edge row, determine the appropriate width and then modify the planks accordingly. To do this, lay the planks for your edge row on top of the starting row, trace a line across these planks using a loose piece of flooring, and cut. Install the planks for the edge row against the wall, making sure they are nice and snug. Leaving no expansion gaps.
Upon completing the installation, use a 75-100lb roller to secure the flooring, clean your surface, and you’ve just successfully finished your installation of Urban Surface’s LooseLay Flooring.
- Solutions for Change: Helping Families in Need to Stand on Their Own - January 10, 2024
- A Home Run With Three On-Base: Fresno Grizzlies × DFS Flooring × Urban Surfaces - January 7, 2024
- A Lesson in Partnership: Old School Tile Company × Urban Surfaces - January 2, 2024


